Features:
- Runtime SplineMesh Generation
- Easy Installation by just adding the Component after Migration
- Easy replacement of the StaticMesh
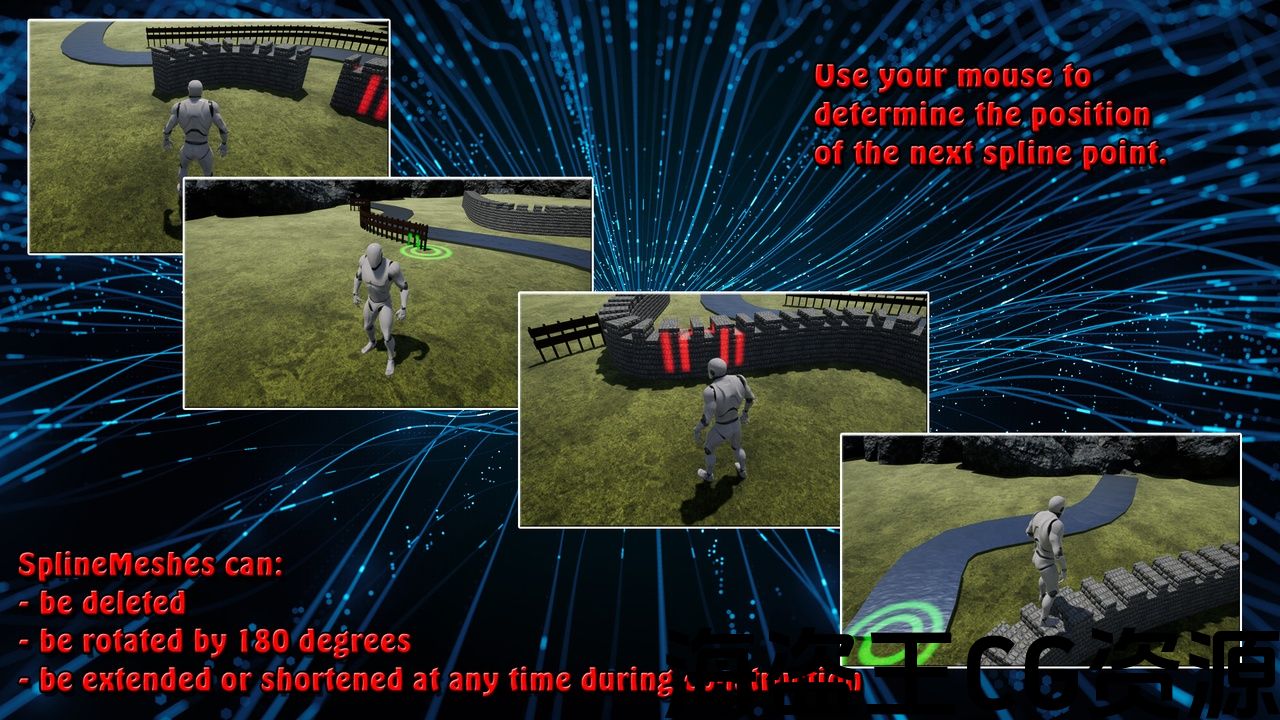
- 180° Flip of Spline Mesh at Runtime
- Delete SplineMeshes after Construction
- The spline can be extended or shortened at any time during construction
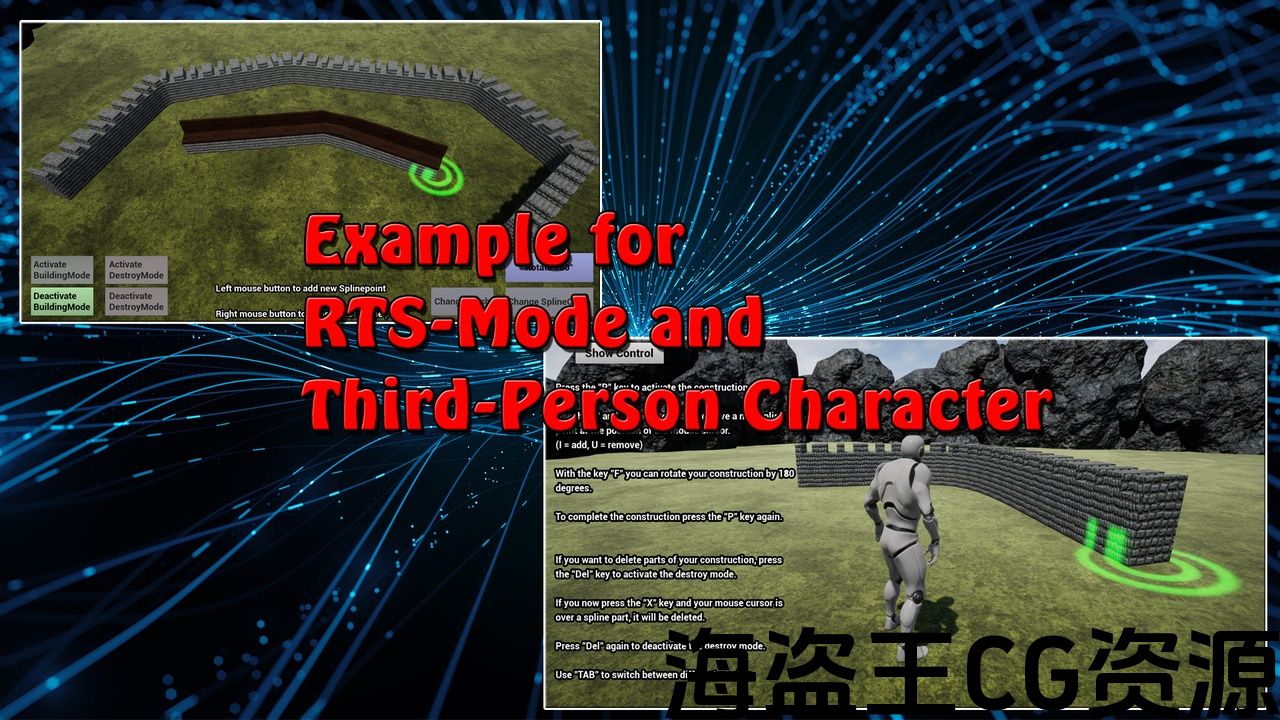
- Third-Person AND RTS Example Character
- 5 Blueprints
- 1 Test Map
- 4 Example Meshes
- RTS Example Widget
- only Windows 64Bit
- Network Replicated: No
特征:
- 运行时SplineMesh生成
- 只需在迁移后添加组件即可轻松安装
- 易于更换静态网格
- 运行时样条网格的180°翻转
- 施工后删除SplineMeshes
- 在施工过程中,花键可以随时延长或缩短
- 第三人称和RTS示例角色
- 5蓝图
- 1测试地图
- 4示例网格
- RTS示例小部件
- 只有Windows64位
- 网络复制:没有
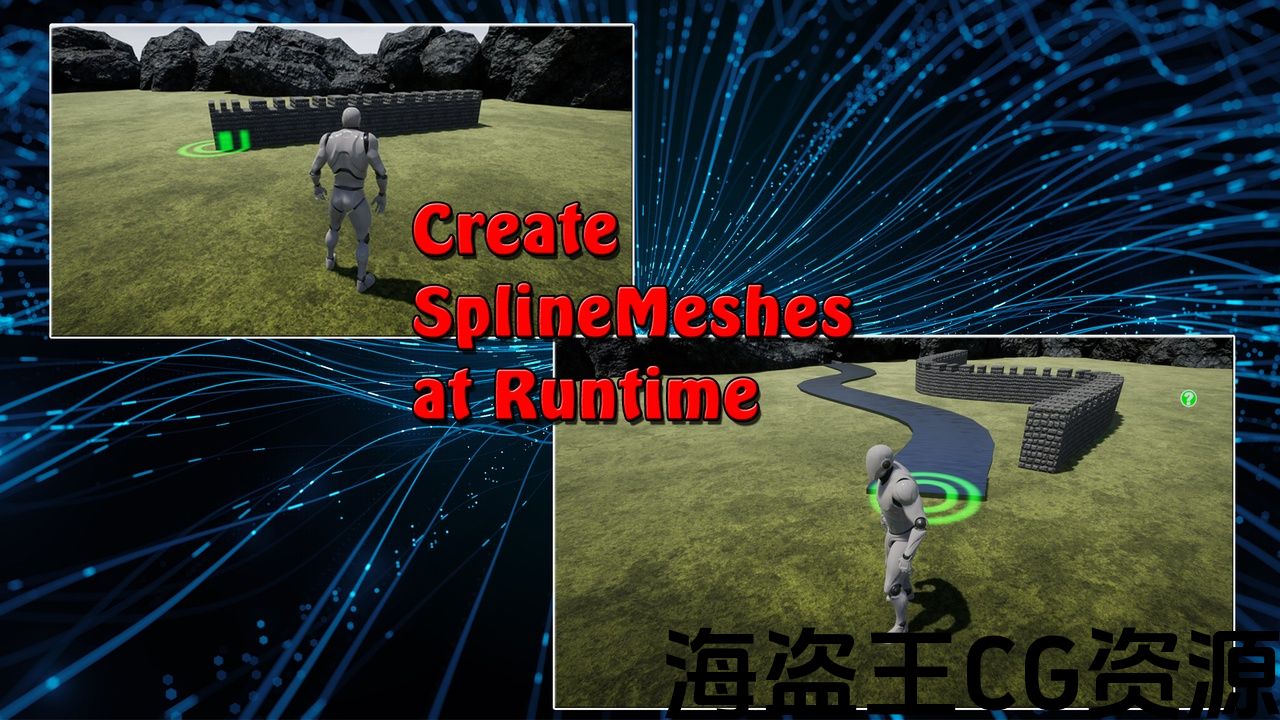
This tool allows you to create spline meshes while the game is running.
Excellent for placing walls, paths or fences in an RTS game.
——————————————-
Update March 2022 // Version 2
New:
- Spline meshes can now be fixed to the surface! The Line Trace Channel “visibility” is used, but can be replaced by an custom Collision Channel.
- The “Closed Loop” function of the spline can now be switched on and off at any time.
- Placed spline points can now be changed afterwards. (Edit Mode)
Important to know:
- Due to the new features , the code has become much more complex than in Version 1. If you don’t need the new features and prefer to work with Version 1 write me a message!
- The “Delete Mode” from Version 1 is NOT compatible with the “Edit Mode” from Version 2 for technical reasons! Already deleted spline meshes will be restored during editing!
- Spline meshes that should be editable in “Editor Mode” need a Simple Collision!
If there are any problems with the new version or if you have any general questions, please feel free to write me!
Official Discord Server is now Online !
——————————————-
The position of the next spline point is always determined by the mouse. Everything else can be determined by calling the corresponding events.
PLEASE NOTE:
This is a very basic tool. Intended to be extended, changed and improved by you for your project!
Ideal for beginners who want to learn how to use splines in the running game.
Installation instructions:
– Open the Runtime Spline Builder Project
– Start the “TestArea” level and follow the instructions to get a feel for what the tool can do.
– Familiarize yourself with all important blueprints and widgets (the code is extensively commented)
– Migrate the “Exovision” folder (found in Content Explorer) to your own project
– add the “SplineBuilderComponent” to your own character.
To be found under: Exovision -> RuntimeSplineBuilder -> Blueprints
– Open the “ExampleCharacter”! There you will find all events that are available for the “SplineBuilderComponent”.
-Follow the instructions that you find there.
-for RTS Games take a look at the RTS Example Widget
Important:
In order for material and collision to work in the packed game, two things must be done:
1. open the material you want to use for your SplineMeshes. In the “Details” window, under “Usage”,
look for the option “Used with Spline Meshes”. Set it to True!
2. Open the StaticMesh you want to use for your SplineMesh.
In the “Details” window find the option “Allow CPUAccess”. Set it to True as well!
This must be done for each material and static mesh used for a SplineMesh!
This Tool is NOT for Editor purposes! Only to create spline meshes during the running game.
此工具允许您在游戏运行时创建样条网格。
非常适合在RTS游戏中放置墙壁,路径或围栏。
——————————————-
2022年3月更新//版本2
新的:
- 样条网格现在可以固定到表面! 使用线迹通道”可见性”,但可以由自定义碰撞通道替换。
- 样条的”闭环”功能现在可以随时打开和关闭。
- 放置的样条点现在可以在之后更改。 (编辑模式)
重要的是要知道:
- 由于新的特性,代码变得比在 版本1. 如果您不需要新功能,并且更喜欢使用 版本1 给我留言!
- 的”删除模式”从 版本1 与”编辑模式”不兼容 版本2 出于技术原因! 已删除的样条网格将在编辑过程中恢复!
- 应该在”编辑器模式”中可编辑的样条网格需要一个简单的碰撞!
如果新版本有任何问题,或者如果您有任何一般性问题,请随时写信给我!
官方不和谐服务器 现在上网了!
——————————————-
下一个样条点的位置始终由鼠标确定。 其他一切都可以通过调用相应的事件来确定。
请注意:
这是一个非常基本的工具。 旨在由您为您的项目进行扩展,更改和改进!
非常适合想要学习如何在运行游戏中使用样条的初学者。
安装说明:
-打开运行时样条构建器项目
-启动”TestArea”级别,并按照说明了解该工具可以做什么。
-熟悉所有重要的蓝图和小部件(代码被广泛评论)
-将”Exovision”文件夹(在内容资源管理器中找到)迁移到您自己的项目
-将”SplineBuilderComponent”添加到您自己的角色中。
在:Exovision->RuntimeSplineBuilder->蓝图下找到
-打开”ExampleCharacter”! 在那里,您将找到所有可用于”SplineBuilderComponent”的事件。
-按照您在那里找到的说明进行操作。
-对于RTS游戏,看看RTS示例小部件
重要事项:
为了使材料和碰撞在包装游戏中起作用,必须做两件事:
1. 打开要用于SplineMeshes的材质。 在”详细信息”窗口中,在”用法”下,
查找选项”与样条网格一起使用”。 设置为True!
2. 打开要用于SplineMesh的StaticMesh。
在”详细信息”窗口中找到选项”允许CPUAccess”。 也把它设置为真!
这必须为用于SplineMesh的每个材质和静态网格体完成!
此工具不适用于编辑器 目的! 仅在运行游戏期间创建样条网格。
评论(0)